If you’re a Tesla owner, having access to a reliable charging source is essential. While it’s possible to charge your Tesla using a standard electrical outlet, this method can be slow and inconvenient. A popular alternative is to install a Tesla charger at home. However, when it comes to Tesla charger installation, there are different options available, including DIY installation and professional installation.
DIY Tesla charger installation involves installing the charger yourself, either by following a tutorial online or with the help of a friend. On the other hand, professional installation involves hiring an experienced electrician or EV charging installer to install the charger for you.
Choosing the right installation method is crucial in ensuring that your Tesla charger is installed safely and functions properly. In this article, we’ll explore the pros and cons of DIY vs. professional installation, along with other important considerations, so that you can make an informed decision about which option is right for you.
Maximizing Your Tesla’s Charging Efficiency: Tips for Your Tesla Wall Charger Installation
The Tesla Wall Connector is a top-of-the-line electric vehicle (EV) charger specifically designed for Tesla cars. The Wall Connector is adaptable to most home electrical systems with variable amperage configurations, making it a convenient choice for Tesla owners.
Charging at home made simple. Tap into our AI-powered system for your quick EV charger estimate.
With Wi-Fi connectivity, the Wall Connector can connect to your local network to receive over-the-air firmware updates, remote diagnostics access, and usage data tracking. Firmware updates are automatically sent to the Wall Connector, ensuring that it is always up-to-date with the latest features.
The Wall Connector also boasts a 24-foot charging cable length, allowing you to park your Tesla further away from the charging station if needed. The auto-sensing handle ensures that the charging cable is easily connected and disconnected from your Tesla without any fuss.
Whether you choose to install it indoors or outdoors, the Wall Connector can be mounted on the wall or on a pedestal, although the latter option may incur an additional cost. Tesla offers a four-year warranty on all Wall Connectors, starting from the day of purchase, giving you peace of mind that your investment is protected.
Tesla Wall Connector Charging Speeds: A Guide to Choosing the Right Charger for Your Tesla Model
Refer to the table below to determine the corresponding Wall Connector speeds for your Tesla Model:
| Tesla Wall Connector Charge Speed | Miles of Range Per Hour of Charge* | |||||
| Circuit breaker
(amps) | Maximum output
(amps) | Power at 240 volts
(kilowatt) | Model S
(mph) | Model 3†
(mph) | Model X
(mph) | Model Y
(mph) |
| 60 | 48 | 11.5 kW | 41 | 44 | 35 | 44 |
| 50 | 40 | 9.6 kW | 34 | 37 | 29 | 37 |
| 40 | 32 | 7.7 kW | 27 | 30 | 23 | 30 |
| 30 | 24 | 5.7 kW | 21 | 22 | 17 | 22 |
| 20 | 16 | 3.8 kW | 14 | 15 | 12 | 15 |
| 15 | 12 | 2.8 kW | 10 | 11 | 9 | 11 |
*Data from Tesla.com. All charge speeds are approximate. The maximum charge rate for Model 3 Rear-Wheel Drive is 32A (7.7kW) – up to 30 miles of range per hour.
Why Install a Tesla Wall Connector for Home Charging?
If you’re a Tesla owner, a Wall Connector is the ideal way to charge your car at home. The third generation of the Tesla Wall Connector provides up to 44 miles of range per hour of charge, with up to 11.5 kW / 48 amp output. According to Tesla, this can be up to 50% faster than other Level 2 chargers on the market that are not made by Tesla.
Another advantage of the Gen 3 Wall Connector is power sharing. This feature enables you to charge more than one Tesla at the same time at sufficient speeds without overloading your electrical capacity. You can even charge up to six Wall Connectors on the same circuit at the same time!
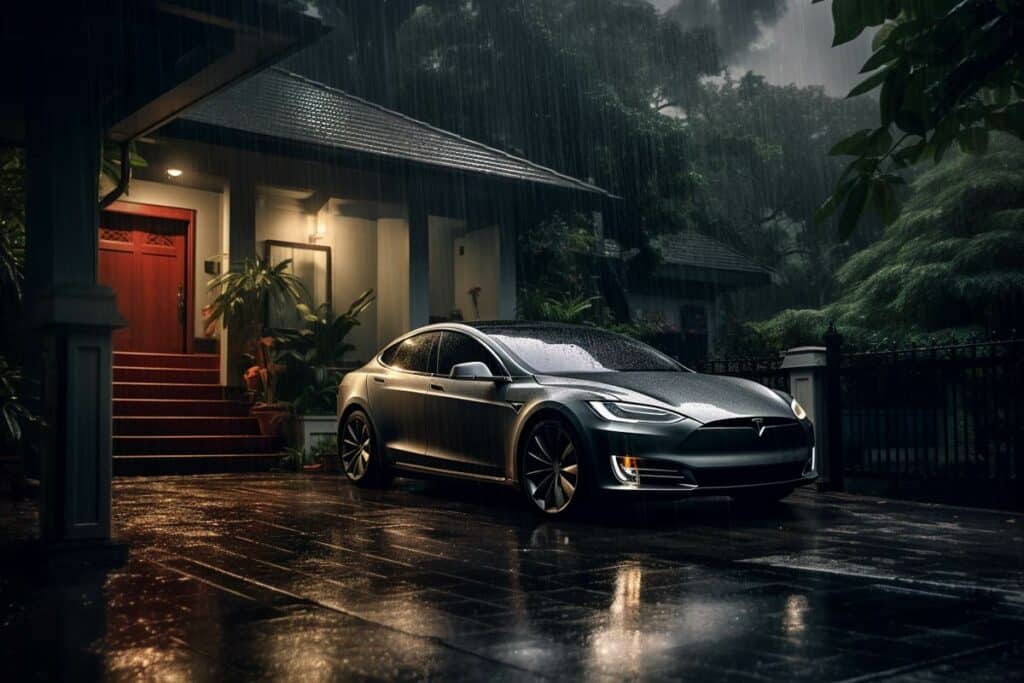
While there are other high-quality electric car chargers on the market, a Tesla Wall Connector is the only Tesla-specific charger. By using the same app as your Tesla vehicle, you can control access to the charging station, schedule and monitor home charging sessions, and track your energy usage over time.
Overall, a Tesla wall charger installation for your home charging needs is an investment that can save you time, while providing you with the peace of mind that comes from having a reliable and efficient charging solution for your Tesla EV.
How To Install a Tesla Wall Charger?
Your house can handle a Tesla charger with proper setup and installation. Whether you opt for a Level 1 or Level 2 charger, you’ll need to ensure that your home’s electrical system can accommodate the charging requirements.
A Level 1 charger is the slowest option, as it plugs into a standard 120-volt household outlet and can only deliver up to 3-5 miles of range per hour of charging. This may be sufficient for occasional use or shorter commutes, but most EV owners prefer a faster charging option.
A Level 2 charger, on the other hand, plugs into a 240-volt outlet and can deliver up to 44 miles of range per hour of charging. This makes it a more practical and efficient choice for daily use. However, before installing a Level 2 charger, you may need to upgrade your home’s electrical panel to accommodate the additional circuit breaker required by the charger.
An experienced electrician or EV charging contractor will be able to assess your home’s electrical system and determine if a panel upgrade is necessary.
Own a Tesla? Enhance its potential with our quick and easy Wall Connector installation quote.
Installing an electric vehicle (EV) charger can be complicated and dangerous if not done correctly. You need to make sure that the installation is done by verified professionals who are experienced in working with EVs. Besides, finding a reliable contractor and getting a reasonable price can be challenging for many people.
At WattLogic, we understand how crucial it is to secure the best possible deal for your EV charger installation. That’s why we offer a free estimate tool that not only provides an installation price but also connects you with a network of licensed and Tesla verified electrical contractors that we work with. Our team ensures that your Tesla home charger is installed safely and at a reasonable price, giving you peace of mind. So, leave the worry to us and let the experts at WattLogic handle the installation of your EV charger.
For many Tesla owners, the Wall Connector is the preferred Level 2 charging option due to its fast charging speeds and compatibility with all Tesla models. However, before installing any Tesla charger, it’s important to ensure that your home’s electrical system can handle the charging requirements. By working with WattLogic, you can make sure that your Tesla charging experience is both efficient and safe.
Tesla Home Charger Installation: A DIY Approach to Saving Money with Important Considerations for Safety and Success
One of the main advantages of DIY installation is cost savings. Hiring a professional electrician to install your Tesla charger can cost hundreds or even thousands of dollars, depending on your location and the complexity of the installation. By installing the charger yourself, you can save money on labor costs and feel a sense of accomplishment in completing the installation.
Another advantage of DIY installation is flexibility. You can choose when to start and finish the installation, and you can work at your own pace. Additionally, you can customize the installation to fit your specific needs and preferences.
While a DIY approach to Tesla home charger installation may seem tempting, it’s crucial to understand the potential risks involved. Modifying your existing electrical system or adding additional electrical load can be dangerous and should only be done by a licensed electrician.
In case you have an existing NEMA 5-15 connector in your garage, you could consider using the Tesla Mobile Connector as a cost-effective alternative. Tesla also provides adapters for other NEMA plug types like NEMA 14-50, NEMA 6-50, and more.
At WattLogic, we prioritize the safety of our customers and offer a free EV charging estimate tool that not only provides an installation price but also connects you with a network of licensed and Tesla verified electrical contractors that we work with. With the help of the WattLogic team, you can be confident that your Tesla home charger will be installed safely and at a reasonable price.
Tools and Materials Needed for Installation
Before you begin the installation process, you’ll need to gather the necessary tools and materials. Here’s a list of the basic tools and materials you’ll need for a Tesla wall connector installation:
- Tesla Wall Connector Level 2 EV charger
- Mounting bracket and hardware
- Wire cutters/strippers
- Electrical tape
- Wire nuts
- Phillips screwdriver
- Flathead screwdriver
- Wire connectors
- Voltage detector
- Drill
- 240-volt circuit breaker
- Electrical wire (usually 6 AWG or 8 AWG, depending on the amperage of the circuit breaker)
Step-by-Step Guide on How to Install a Tesla Wall Connector
- Turn off power to the area where you will be installing the Tesla wall connector by switching off the circuit breaker that powers that area.
- Using the voltage detector, confirm that there is no electricity running to the wires that will be used for the installation.
- Identify the panel box where the circuit breaker will be installed. Install a 240-volt circuit breaker in an open slot in the panel box.
- Run the electrical wire from the circuit breaker to the area where the Tesla wall connector will be installed. Ensure that the wire is long enough to reach the charging location without any strain or tension.
- Connect the electrical wire to the back of the Tesla wall connector. Make sure that the wires are connected to the correct terminals, as shown in the installation manual.
- Mount the Tesla wall connector on the wall, using the mounting bracket and hardware provided in the package.
- Turn on the power to the circuit breaker, and test the Tesla wall connector by plugging it into your Tesla and charging for a few minutes.
By following these steps and carefully reviewing the installation manual, you can successfully install your own Tesla wall connector and enjoy fast and efficient charging at home. However, if you’re uncomfortable with any aspect of the installation process, or if you encounter any issues during the installation, it’s always best to seek the help of a professional electrician.
Book Your No-Cost EV Charger Consult Now
WattLogic is your go-to destination for all electric vehicle (EV) charging needs. We offer comprehensive, end-to-end EV charging solutions for both businesses and homeowners. Connect with us today!
Professional EV charger installation is a smart choice for those who want to ensure a safe and efficient installation process. While it may cost more upfront, hiring a qualified installer offers many advantages over attempting a DIY installation.
The Advantages of Professional Tesla Charger Installation: Ensuring Safety, Convenience, and Long-Term Cost Savings
One of the primary advantages of professional installation is the guarantee of safety. Electricians are trained and licensed to handle electrical systems and can identify potential hazards that may not be visible to an untrained eye. Additionally, a professional installation ensures that all components are installed accurately and up to code, which can offer peace of mind and reduce the risk of damage to your property.
Another advantage of professional installation is the convenience factor. A licensed electrician will handle all aspects of installation, including the necessary permits, ensuring that you don’t need to worry about any of the technical details. Obtaining a permit may be necessary if you qualify for local utility rebates and incentives. At WattLogic, we can assist you in identifying these incentives so that you don’t miss out on any opportunities to receive free money.
Hiring a Qualified Electrician or EV Charging Station Contractor
When it comes to hiring an electrician or Electric Vehicle charging station contractor for your Tesla charger installation, it’s important to choose someone who is experienced in working with electric vehicles. Look for electricians who have installed Tesla chargers before or who have certifications or training in EV charging installations.
Additionally, it’s essential to verify that they are licensed and insured. This can protect you from liability in the event that something goes wrong during the installation process.
Tesla Wall Connector Installation Cost Considerations
While professional installation may seem more expensive upfront than a DIY approach, it’s important to consider the long-term costs of a faulty installation. If something goes wrong with your charger due to incorrect installation, you could be forced to pay for repairs or even a full replacement.
Furthermore, many electricians offer warranties on their work, which can give you additional peace of mind. When considering the cost of professional installation, it’s important to factor in the value of these warranties and the long-term savings that come with a properly installed and functioning EV Tesla charger.
In conclusion, while professional Tesla Charger Installation may cost more upfront, it offers many advantages over DIY approaches. The guarantee of safety, convenience factor, and long-term cost savings make hiring a qualified electrician a smart choice for any Tesla owner looking to install a charging station at home.
How to Choose the Right Tesla Charger for Your Home and Why WattLogic Might Be Your Best Choice
Choosing the right Tesla charger for your home involves considering factors such as charging speed, installation location, and cost. At WattLogic, we provide an array of Level 2 EV chargers that cater to your specific needs. This includes the highly reliable Tesla Wall Connector, which not only offers fast charging speeds but is also a trustworthy and dependable brand.
When you choose WattLogic, our experienced team will help you manage and coordinate the entire installation process, ensuring that all aspects of the installation are handled professionally and efficiently. We work exclusively with licensed and insured electrical contractors, providing an added layer of protection and peace of mind.
How Much Does It Cost to Install a Tesla Connector?
The cost of installing a Tesla Connector will depend on several factors, including the distance between the connector and your electrical panel, the capacity of your home’s electrical panel, whether you need a panel upgrade, and whether you are installing the connector indoors or outdoors. Additionally, you may be eligible for EV charging rebates that can help offset the cost of installation.
A Tesla Wall Connector is relatively affordable at $425, with add-ons like a pedestal for $425, a cable organizer for $35, and colored faceplates for $75. Currently, installation costs range from $750 to $1500, depending on the factors mentioned above.
In conclusion, installing a Tesla home charger offers many benefits for Tesla owners, including convenience and cost savings. At WattLogic, we are committed to helping you choose the right Tesla charger for your home and ensuring that the installation process is handled safely, efficiently, and professionally.
Allow us to assist you with the installation of your Tesla Wall Connector.

